Sheets in SwiftUI allow you to present views that partly cover the underlying screen. You can present them using view modifiers that respond to a particular state change, like a boolean or an object. Views that partly cover the underlying screen can be a great way to stay in the context while presenting a new flow.
There can only be one active sheet at a time, so it’s essential to coordinate the presentation. Boolean triggers work great when you have a single presentable view but are less efficient if you have to create a boolean for each presentable. Altogether, I found the need to develop a generic solution that allows you to present multiple views more efficiently.

Presenting a sheet in SwiftUI
You can present a sheet using a view modifier in SwiftUI:
/// Present a sheet once `shouldPresentSheet` becomes `true`.
.sheet(isPresented: $shouldPresentSheet) {
    print("Sheet dismissed!")
} content: {
    AddArticleView()
}
The modifier allows you to listen for a dismiss callback and takes a trailing closure in which you can provide the view. An example implementation could look as follows:
struct ArticlesView: View {
    @State var shouldPresentSheet = false

    var body: some View {
        VStack {
            Button("Present Sheet") {
                shouldPresentSheet.toggle()
            }
                /// Present a sheet once `shouldPresentSheet` becomes `true`.
                .sheet(isPresented: $shouldPresentSheet) {
                    print("Sheet dismissed!")
                } content: {
                    AddArticleView()
                }

        }
            .padding()
            .frame(width: 400, height: 300)
    }
}
After tapping the present button, you’ll see that a modal becomes visible:

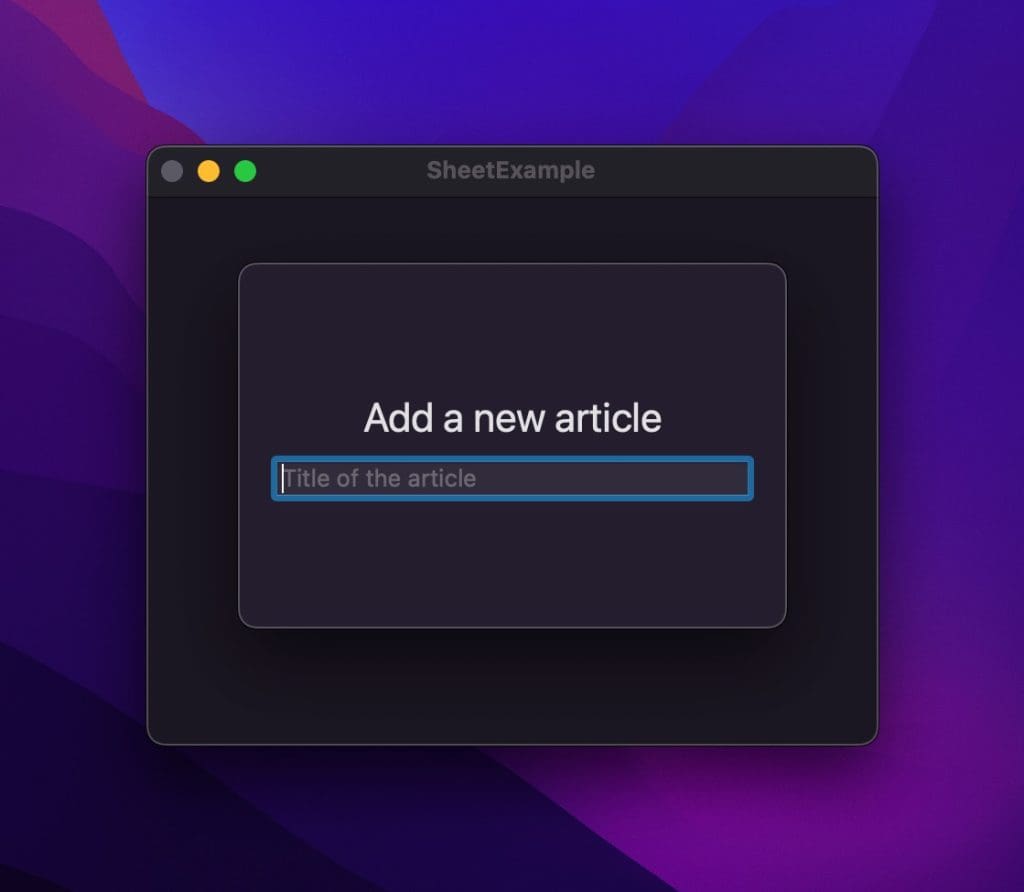
Presenting a sheet on macOS
Note that we’ve configured a frame width and height to support macOS. Sheets on macOS automatically shrink to the minimum size needed, which means that our presented view becomes too small. With the configured dimensions, the same presented view looks as follows on macOS:
Dismissing a sheet
You can dismiss a sheet using a so-called DismissAction that’s defined using the environment property wrapper:
@Environment(\.dismiss) private var dismissThe dismiss action implements a similar technique to @dynamicCallable and @dynamicMemberLookup, allowing you to call the instance as a function to trigger a dismiss:
dismiss()We can put this all together in an example view that allows adding a new article:
struct AddArticleView: View {
    @Environment(\.dismiss) private var dismiss

    @State var title: String = ""

    var body: some View {
        VStack(spacing: 10) {
            Text("Add a new article")
                .font(.title)
            TextField(text: $title, prompt: Text("Title of the article")) {
                Text("Title")
            }

            HStack {
                Button("Cancel") {
                    // Cancel saving and dismiss.
                    dismiss()
                }
                Spacer()
                Button("Confirm") {
                    // Save the article and dismiss.
                    dismiss()
                }
            }
        }
            .padding(20)
            .frame(width: 300, height: 200)
    }
}
Enum-based sheet presentation
The earlier examples demonstrated how you could present views using a boolean state property. While this works great when working with a single sheet, it can quickly become harder to manage when you have multiple views to present:
struct ArticlesView: View {
    @State var presentAddArticleSheet = false
    @State var presentEditArticleSheet = false
    @State var presentArticleCategorySheet = false

    var body: some View {
        VStack {
            Button("Add Article") {
                presentAddArticleSheet.toggle()
            }
            Button("Edit Article") {
                presentEditArticleSheet.toggle()
            }
            Button("Article Categories") {
                presentArticleCategorySheet.toggle()
            }
        }
        .sheet(isPresented: $presentAddArticleSheet, content: {
            AddArticleView()
        })
        .sheet(isPresented: $presentEditArticleSheet, content: {
            EditArticleView()
        })
        .sheet(isPresented: $presentArticleCategorySheet, content: {
            ArticleCategoryView()
        })
            .padding()
            .frame(width: 400, height: 300)
    }
}
As you can see, we have to define a state property and sheet modifier for each presentable view. You can imagine that our view becomes even less readable when we add more elements to enrich our view.
We can improve readability and reduce modifiers by using another sheet modifier that takes an identifiable object. In our case, we use an enum identifiable object to define all different presentable views:
enum Sheet: String, Identifiable {
    case addArticle, editArticle, articleCategory

    var id: String { rawValue }
}
We can replace the three view modifiers using a single one that iterates over the current presented value:
.sheet(item: $presentedSheet, content: { sheet in
    switch sheet {
    case .addArticle:
        AddArticleView()
    case .editArticle:
        EditArticleView()
    case .articleCategory:
        ArticleCategoryView()
    }
})
Altogether, our final view looks as follows:
struct ArticlesEnumSheetsView: View {
    enum Sheet: String, Identifiable {
        case addArticle, editArticle, articleCategory

        var id: String { rawValue }
    }

    @State var presentedSheet: Sheet?

    var body: some View {
        VStack {
            Button("Add Article") {
                presentedSheet = .addArticle
            }
            Button("Edit Article") {
                presentedSheet = .editArticle
            }
            Button("Article Category") {
                presentedSheet = .articleCategory
            }
        }
        .sheet(item: $presentedSheet, content: { sheet in
            switch sheet {
            case .addArticle:
                AddArticleView()
            case .editArticle:
                EditArticleView()
            case .articleCategory:
                ArticleCategoryView()
            }
        })
            .padding()
            .frame(width: 400, height: 300)
    }
}
We can now present a view using the presentedSheet property, resulting in increased readability in terms of understanding which sheet will be presented:
presentedSheet = .addArticleThis is an excellent solution for most scenarios, but it still doesn’t fulfill all my needs when working with multiple presentable views. There’s no easy way to present another view from within a sheet which can be helpful when working in flows on macOS. Secondly, while we can reuse our enum, we still have to define the sheet modifier on every view that supports presenting. Therefore, I decided to take this solution one step further.
Creating a coordinator
Creating a presenting coordinator allows sheets to be controlled outside the presenting views. Our code becomes reusable, and we can trigger views from other presented views.
We start by defining a new SheetEnum protocol that moves the responsibility of view creation to the enum:
protocol SheetEnum: Identifiable {
    associatedtype Body: View

    @ViewBuilder
    func view(coordinator: SheetCoordinator<Self>) -> Body
}
We can rewrite our earlier defined enum as followed:
enum ArticleSheet: String, Identifiable, SheetEnum {
    case addArticle, editArticle, selectArticleCategory

    var id: String { rawValue }

    @ViewBuilder
    func view(coordinator: SheetCoordinator<ArticleSheet>) -> some View {
        switch self {
        case .addArticle:
            AddArticleView()
        case .editArticle:
            EditArticleView()
        case .selectArticleCategory:
            SelectArticleCategoryView(sheetCoordinator: coordinator)
        }
    }
}
Note that we’re injecting the sheet coordinator into the SelectArticleCategoryView to allow that view to control a potential next sheet to be presented.
The coordinator looks as follows:
final class SheetCoordinator<Sheet: SheetEnum>: ObservableObject {
    @Published var currentSheet: Sheet?
    private var sheetStack: [Sheet] = []

    @MainActor
    func presentSheet(_ sheet: Sheet) {
        sheetStack.append(sheet)

        if sheetStack.count == 1 {
            currentSheet = sheet
        }
    }

    @MainActor
    func sheetDismissed() {
        sheetStack.removeFirst()

        if let nextSheet = sheetStack.first {
            currentSheet = nextSheet
        }
    }
}
We defined the coordinator as an observable object to ensure containing views get refreshed when the currentSheet property updates. Internally, we keep track of a stack of sheets to allow views to be presented after one was dismissed.
We could rely solely on the currentSheet property, but that would transition sheets without dismissing and presenting animations on macOS. Therefore, we make use of the presentSheet(_: ) method to control our stack.
We also introduce a new view modifier to get rid of the sheet modifier within presenting views:
struct SheetCoordinating<Sheet: SheetEnum>: ViewModifier {
    @StateObject var coordinator: SheetCoordinator<Sheet>

    func body(content: Content) -> some View {
        content
            .sheet(item: $coordinator.currentSheet, onDismiss: {
                coordinator.sheetDismissed()
            }, content: { sheet in
                sheet.view(coordinator: coordinator)
            })
    }
}
extension View {
    func sheetCoordinating<Sheet: SheetEnum>(coordinator: SheetCoordinator<Sheet>) -> some View {
        modifier(SheetCoordinating(coordinator: coordinator))
    }
}
We ensure both coordinator and enum associated types match and connect the coordinator to the view using a state object.
Finally, we can update our existing view to make use of the new coordinator:
struct CoordinatedArticlesView: View {
    @StateObject var sheetCoordinator = SheetCoordinator<ArticleSheet>()

    var body: some View {
        VStack {
            Button("Add Article") {
                sheetCoordinator.presentSheet(.addArticle)
            }
            Button("Edit Article") {
                sheetCoordinator.presentSheet(.editArticle)
            }
            Button("Article Category") {
                sheetCoordinator.presentSheet(.selectArticleCategory)
            }
        }
            .sheetCoordinating(coordinator: sheetCoordinator)
            .padding()
            .frame(width: 400, height: 300)
    }
}
We reduced the code used to present the views by using our coordinator, and we can present the views from any other view.
Conclusion
You can present sheets using boolean or object state properties. Boolean-based sheets work great when you only have a few sheets but become harder to manage in case you present multiple views. Using a sheet coordinator, we can improve reusability and present sheets from any view.
If you want to improve your SwiftUI knowledge, even more, check out the SwiftUI category page. Feel free to contact me or tweet me on Twitter if you have any additional tips or feedback.
Thanks!