It’s been a few months since we released the initial version of GitBuddy but it’s the right time now to tell you all about our new best friend. We’ve been testing it intensively by making use of it in all our iOS related open-source projects at WeTransfer to create and manage our changelogs and releases.
Managing multiple projects can be quite time-consuming. You have to keep your CHANGELOG.md up to date and you also want to make clear release notes to let your followers know what has changed. At the same time, you’re looking at projects like Fastlane that have great automation in place to thank their contributors by listing them in the release notes. However, there hasn’t been a generic way of integrating this into your own repositories up until today.

Managing multiple open-source project releases with ease
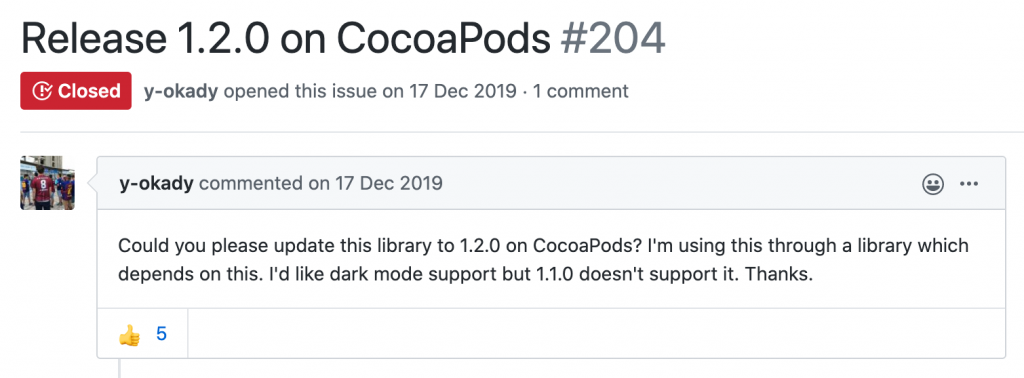
Over time we’ve been struggling a lot with keeping our open-source projects up to date. As a repository owner, you’re likely recognizing yourself in the fact that we were often forgetting to create a new tagged release for our open-source projects. People start opening issues to complain that a certain feature is not yet available on dependency managers like CocoaPods and they have a good point!
Working at a company that allows managing open-source projects is great but it also requires a great skill of time-management. It’s often not planned into sprints to review PRs from the community that doesn’t really implement anything from the defined roadmap. However, it’s a really bad impression to have an open-source project that is not well-maintained.
At WeTransfer, we decided that it was time for a change. This is often followed by thinking about how we can automate our problem and save ourselves the struggles. The answer is here: GitBuddy.
Introducing GitBuddy as our friend in managing changelogs and releases
GitBuddy is a command-line tool written completely in Swift. It makes use of the latest available APIs like the ArgumentParser framework by Apple and has three main features:
- Generating a changelog between two tags and updating this into a
CHANGELOG.mdfile - Converting a tag into a GitHub release with the right changelog entries
- Commenting on issues and PRs when a release contained the related code changes
GitBuddy had the goal to solve a few specific issues:
- We were manually keeping our
CHANGELOG.MDup to date. We were even asking community contributors to update the PR with a changelog entry. This counts both for open-source projects as our internal projects that we manage on GitHub. GitBuddy had to solve this by automatically fetching the changes. - Fastlane and custom Ruby code allowed us to take the latest
CHANGELOG.MDentry and include that in a GitHub release. Although it worked, Ruby knowledge was needed to maintain this code. Therefore, we aimed to write a solution in Swift so everyone on the team can maintain the code (bye, bye, Bus Factor). - Thanking our contributors and listing them in our release notes was our goal as we’d love to thank them for their efforts.
- As we like open-sourcing our code, GitBuddy should be generic enough to be useful for others too.
I’m happy to announce that we’ve managed to reach all of the above goals. Let’s go over them one by one!
Keeping the changelog file up to date
One of the two main commands in GitBuddy is the changelog command. At the moment of writing it looks as follows:
$ gitbuddy changelog --help
OVERVIEW: Create a changelog for GitHub repositories

USAGE: gitbuddy changelog [--since-tag <since-tag>] [--base-branch <base-branch>] [--sections] [--verbose]

OPTIONS:
  -s, --since-tag <since-tag>
                          The tag to use as a base. Defaults to the latest tag.
  -b, --base-branch <base-branch>
                          The base branch to compare with. Defaults to master.
  --sections              Whether the changelog should be split into sections. Defaults to false.
  --verbose               Show extra logging for debugging purposes
  -h, --help              Show help information.
The command takes an input tag and a base branch to compare with. This results in a list of changes since the last commit on the base branch which is used to fetch changelog entries as follows:
- The start- and end-date are fetched from the latest commit on the base branch and the tag creation date.
- The GitHub API is used to fetch all PRs between those dates that target the given base branch.
- If the PR contains any of the supported closing keywords to reference a fixed issue, the title of the linked issue is fetched and used as the Changelog entry. The PR title is used by default if there’s no linked issue found.
- The PR author is used as a reference in the changelog entry.
Using the above command could result in the following example output:
$ gitbuddy changelog -s 2.1.0
- ignoring query example swap i/o url ([#54](https://github.com/WeTransfer/Mocker/pull/54)) via [@GeRryCh](https://github.com/GeRryCh)
- Update README.md ([#53](https://github.com/WeTransfer/Mocker/pull/53)) via [@mtsrodrigues](https://github.com/mtsrodrigues)
- mixing in the ability to send an explicit error from a mock response ([#52](https://github.com/WeTransfer/Mocker/pull/52)) via [@heckj](https://github.com/heckj)
- Update readme for Alamofire 5 ([#48](https://github.com/WeTransfer/Mocker/pull/48)) via [@AvdLee](https://github.com/AvdLee)
- Document that onRequest and completion must be set before calling register() ([#47](https://github.com/WeTransfer/Mocker/pull/47)) via [@marcetcheverry](https://github.com/marcetcheverry)
- Merge release 2.1.0 into master ([#46](https://github.com/WeTransfer/Mocker/pull/46)) via [@WeTransferBot](https://github.com/WeTransferBot)
As you can see, the generated output is styled using Markdown which results in great output on GitHub:

The GitHub release is generated by the other main command: Release.
Converting a tag into a beautiful GitHub release
The release command uses the changelog command to fetch the changes for a given tag and uses it to create a new release on GitHub. It optionally also updates the CHANGELOG.md file which makes it a lot easier to keep your changelog entries up to date.
At the moment of writing the release command looks as follows:
$ gitbuddy release --help
OVERVIEW: Create a new release including a changelog and publish comments on related issues.

USAGE: gitbuddy release [--changelog-path <changelog-path>] [--skip-comments] [--use-pre-release] [--target-commitish <target-commitish>] [--tag-name <tag-name>] [--release-title <release-title>] [--last-release-tag <last-release-tag>] [--base-branch <base-branch>] [--sections] [--verbose]

OPTIONS:
  -c, --changelog-path <changelog-path>
                          The path to the Changelog to update it with the latest changes.
  -s, --skip-comments     Disable commenting on issues and PRs about the new release.
  -p, --use-pre-release   Create the release as a pre-release.
  -t, --target-commitish <target-commitish>
                          Specifies the commitish value that determines where the Git tag is created
                          from. Can be any branch or commit SHA. Unused if the Git tag already exists.
                          Default: the repository's default branch (usually master).
  -n, --tag-name <tag-name>
                          The name of the tag. Default: takes the last created tag to publish as a GitHub
                          release.
  -r, --release-title <release-title>
                          The title of the release. Default: uses the tag name.
  -l, --last-release-tag <last-release-tag>
                          The last release tag to use as a base for the changelog creation. Default:
                          previous tag.
  -b, --base-branch <base-branch>
                          The base branch to compare with for generating the changelog. Defaults to
                          master.
  --sections              Whether the changelog should be split into sections. Defaults to false.
  --verbose               Show extra logging for debugging purposes
  -h, --help              Show help information.
As you can see, it comes with a great list of options. This makes GitBuddy suitable for a lot of use-cases and custom ways of creating releases. It’s worth pointing out that the whole tool is written in Swift and that it should be possible to add missing features if you’re experienced in writing Swift code.
The release command works as follows:
- By default, the latest tag is fetched and used to convert into a GitHub release
- The changelog is fetched as earlier described by comparing the input tag with the given base branch
- A new release is created using the given title
- Comments are posted on all referenced issues and PRs
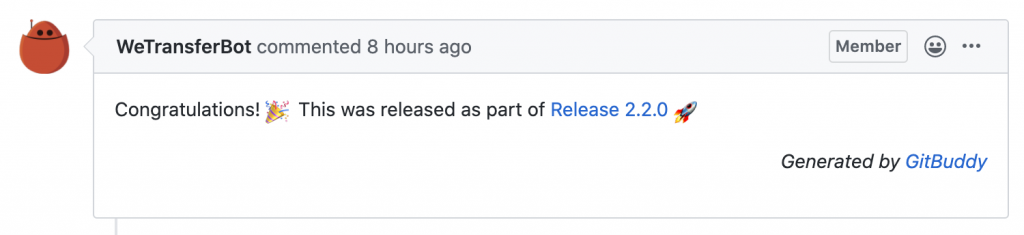
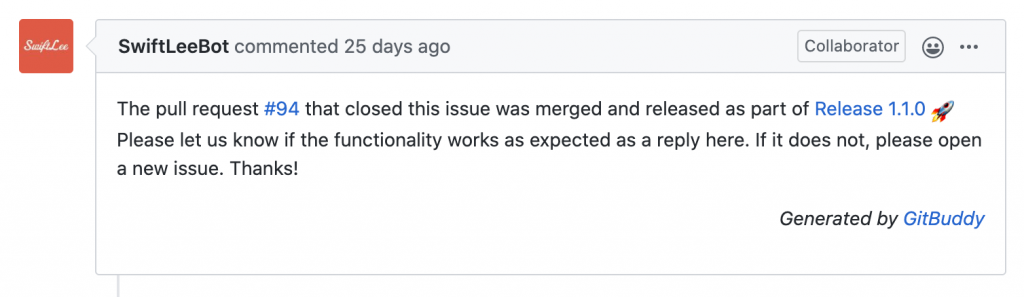
Although the comments are optional, they’re a great addition to doing open-source releases. Every PR and issue that is included in the release gets a comment which tells the author that their change has been released.
Releasing a tag with GitBuddy
An example release could look as follows:
$ gitbuddy release --changelog-path Changelog.mdThis command will release the latest tag, attaches the changelog, and converts it into a GitHub Release that looks great:
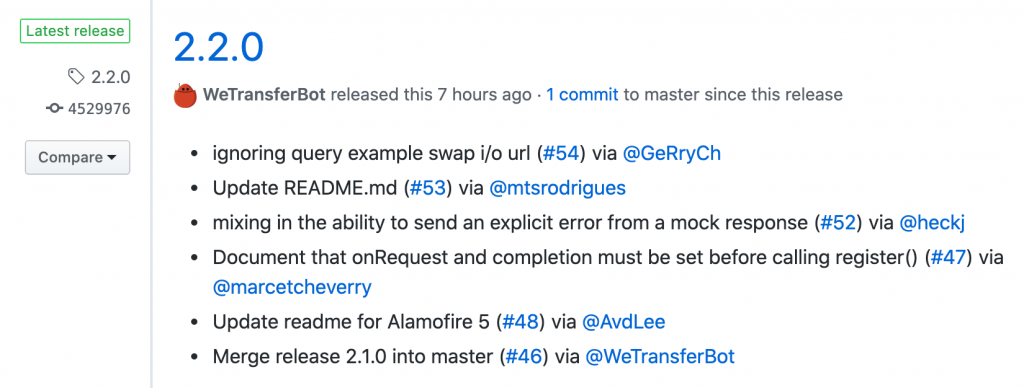
As you can see, we’re including all our contributors for the work they’ve done. This can be a motivator for others to contribute but it’s mainly a way for us to say thanks.
Another benefit is linked to fixed issues. These are especially useful for our QA team that makes use of our changelogs. They can use our changelogs to start validating any fixed issues.

FREE 5-Day Email Course: The Swift Concurrency Playbook
A FREE 5-day email course revealing the 5 biggest mistakes iOS developers make with with async/await that lead to App Store rejections And migration projects taking months instead of days (even if you've been writing Swift for years)
Automating releases with a tag trigger
It all comes together when we automate the creation of new releases with tag triggers. Tools like Bitrise allow you to set up workflows that get triggered once a new tag is pushed:
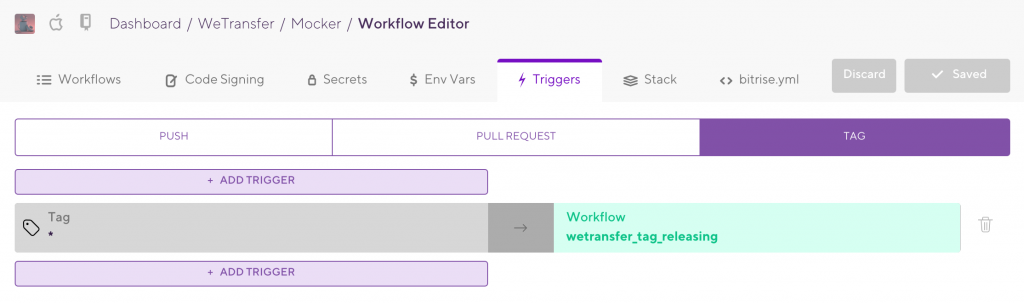
The above example shows how we do releases with our open-sourced framework Mocker. If you’re using Bitrise as well, you can benefit from looking at our workflows as these are all open-source as well and included in our WeTransfer-iOS-CI repository.
Finally, all it takes for us to deliver a new release is pushing a new tag on Git. This will trigger the following workflow:
- Update our
.podspecby using the tag as the new version (Code) - Update the
Changelog.mdwith the latest release that we’re about to create - Post on each issue and PR to mention the release
- Create the actual GitHub release
GitBuddy perfectly fits this workflow and is a great buddy in doing releases. I encourage you to get inspired by our workflow and make it easier for yourself to publish new releases.
Conclusion
We’ve written GitBuddy as a Swift command-line tool that helps us to more easily release changes in our open-source projects. Releasing is no longer a time-consuming task and all our contributors don’t have to wait long for their changes to be available through dependency managers like CocoaPods.
If you like to improve your workflow, even more, check out the workflow category page. Feel free to contact me or tweet to me on Twitter if you have any additional tips or feedback.
Thanks!