ContentUnavailableView is a SwiftUI view introduced in iOS 17 during WWDC 2023. It allows you to handle cases of networking failure or empty search results. It’s essential to explain an empty state and its cause to your users.
While you can generate custom empty states, reusing standard SwiftUI components is convenient. Doing so will speed up your development process while you benefit from consistent and accessible UI simultaneously.
Making use of standard unavailable views
SwiftUI provides a set of ready-to-use unavailable views for common scenarios. For now, these only cover two different search empty states, but it could be possible more variants will follow in later releases.
Empty search states are common, and by reusing SwiftUI’s standard component, you’ll show a familiar view to your users with ease. For example, you might have a view to search in a list of articles:
struct ContentView: View {
    @ObservedObject private var viewModel = ArticlesViewModel()

    var body: some View {
        NavigationStack {
            List {
                ForEach(viewModel.searchResults) { article in
                    NavigationLink {
                        ArticleView(article)
                    } label: {
                        Text(article.title)
                    }
                }
            }
            .navigationTitle("Articles")
            .searchable(text: $viewModel.searchText)
            .overlay {
                if viewModel.searchResults.isEmpty, !viewModel.searchText.isEmpty {
                    /// In case there aren't any search results, we can
                    /// show the new content unavailable view.
                    ContentUnavailableView.search
                }
            }
        }
    }
}
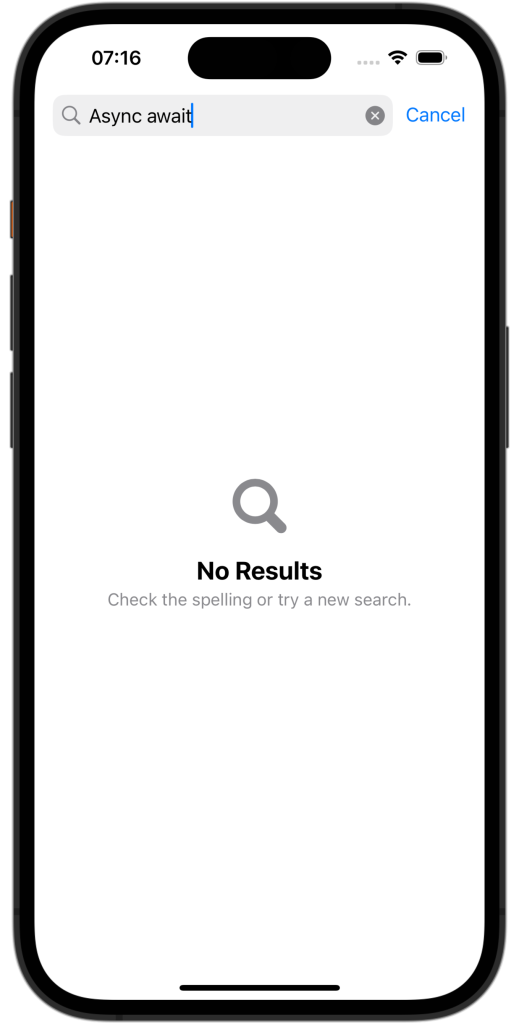
If there aren’t any search results while the query is non-empty, we can show the new ContentUnavailableView. The outcome view looks as follows:

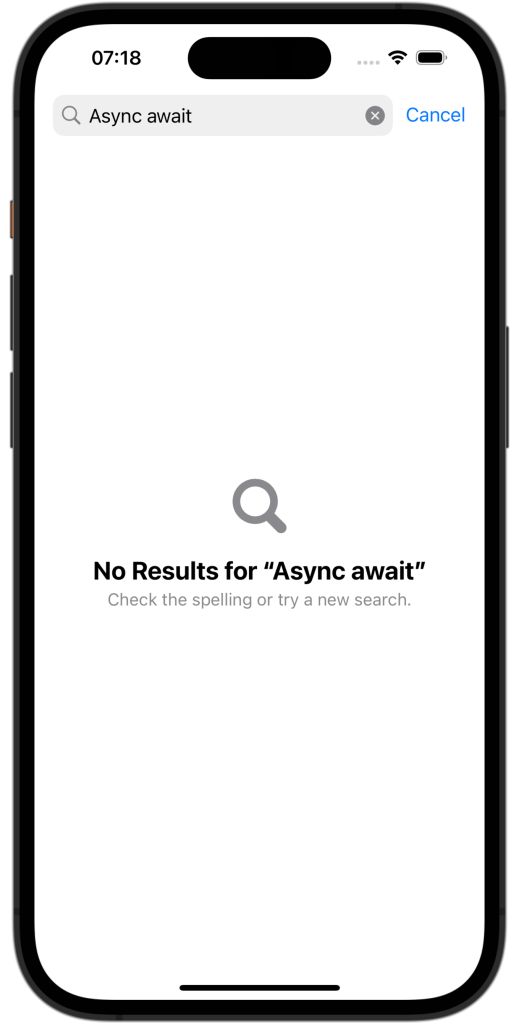
You can also use the search variant by providing the search query:
if viewModel.searchResults.isEmpty, !viewModel.searchText.isEmpty {
    /// In case there aren't any search results, we can
    /// show the new content unavailable view.
    ContentUnavailableView.search(text: viewModel.searchText)
}
Resulting in an empty state view that also shows the input query:

The resulting view looks familiar to your users since it’s widely used across the system. Another benefit is that the content unavailable view automatically translates into the languages your app supports. Note that it will only translate to languages your app supports so that you won’t have a single view being localized only.
Creating a custom ContentUnavailableView
While using the default provided variants is recommended, you can create custom unavailable views to match your design or handle different cases. You’ll have to manage localization and labels yourself, which results in more flexibility.
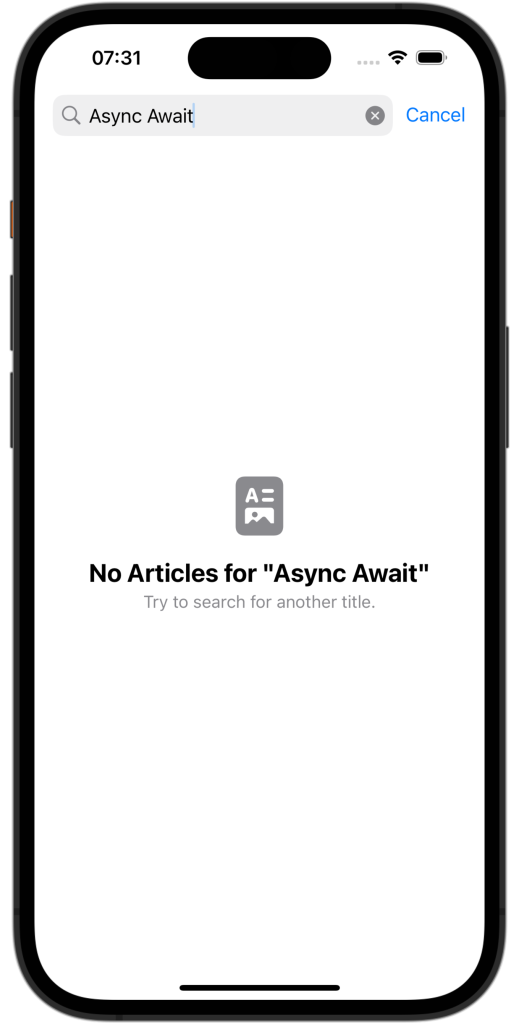
In our example, we’re going to provide a custom empty view that better matches our articles view:
ContentUnavailableView(
    "No Articles for \"\(viewModel.searchText)\"",
    systemImage: "doc.richtext.fill",
    description: Text("Try to search for another title.")
)
We’ve used a convenience initializer in this case, but we can write the same code using the more flexible initializer:
ContentUnavailableView {
    Label("No Articles for \"\(viewModel.searchText)\"", systemImage: "doc.richtext.fill")
} description: {
    Text("Try to search for another title.")
}
This initializer is excellent for extra flexibility, as you can use any view. Using the ContentUnavailableView this way results in the following output:

While we’ve primarily used the unavailable view to handle search results, you can also use it for other scenarios like network requests failures. The ContentUnavailableView provides convenience and allows you to match the system design with ease.
Conclusion
SwiftUI’s ContentUnavailableView allows you to provide feedback to users about the content being unavailable. You can use standard implementations like empty search results or create custom implementations. While custom implementations result in flexibility, standard variants have the benefit of being localized.
If you want to improve your SwiftUI knowledge, even more, check out the SwiftUI category page. Feel free to contact me or tweet me on Twitter if you have any additional tips or feedback.
Thanks!