Location Simulation is a critical feature for apps that provide location access. You want to mimic the environment of real users without stepping in your car and driving a route while debugging. Whether you want to simulate switching directly between two places or an entire route of waypoints: both are possible in Xcode’s Simulator.
Earlier, we discussed increasing productivity by testing Push Notifications on the Simulator. We can gain a similar productivity boost by configuring a fake location inside Xcode’s Simulator.

Simulate a location via Xcode
Xcode provides a Simulate Location menu with a few common places to pick from:
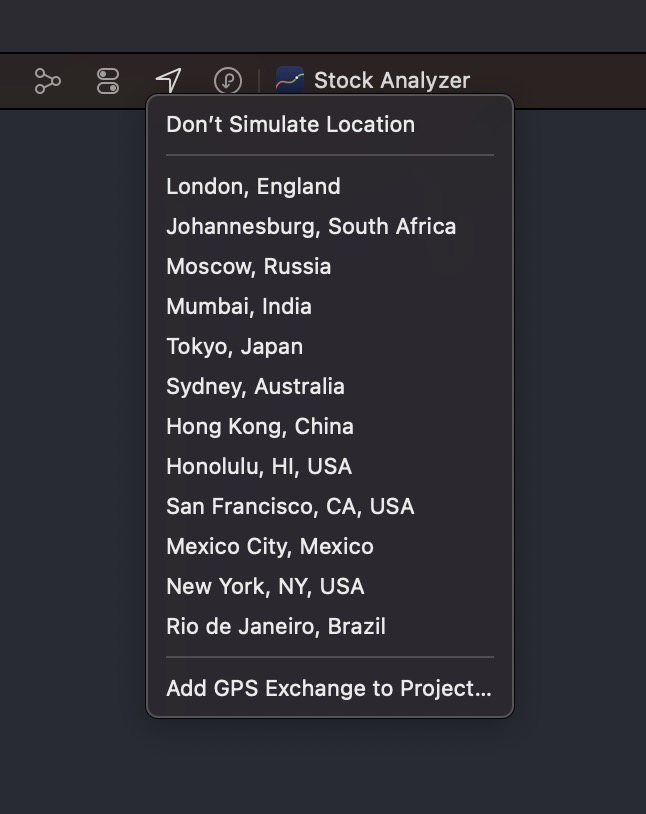
You can find this menu inside the console header, providing you access to simulate the location of a few familiar places like San Francisco and London. You can tap “Don’t Simulate Location” to reset the simulation.
Before diving into GPS Exchange, I first want to highlight another way of simulating the location in Xcode.
Using a scheme configuration to simulate a location
Changing the location on every run manually is inefficient and can become repetitive. We can solve this by configuring a simulated location from within the scheme configuration:
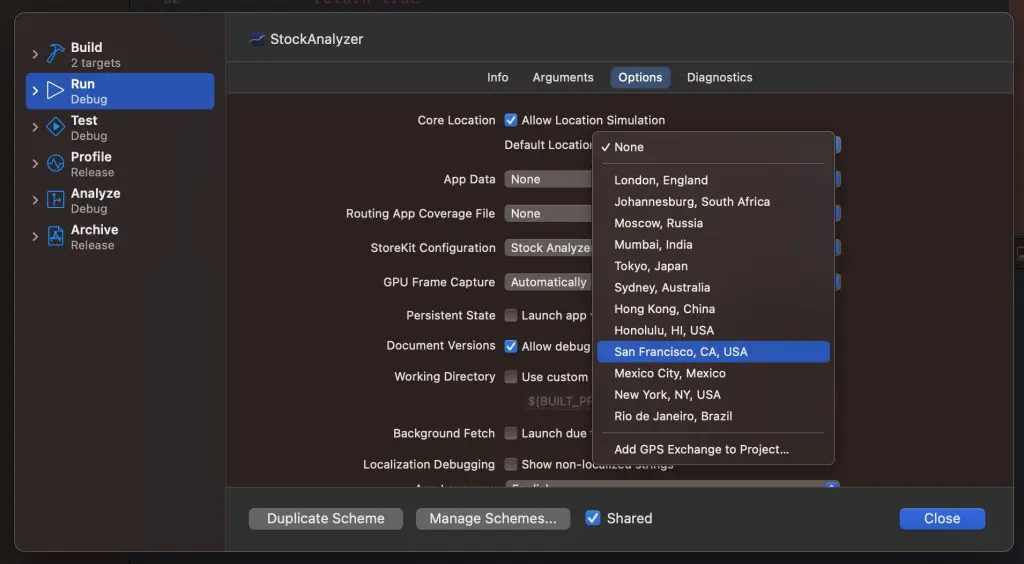
The configured location will be simulated whenever you launch your app using the scheme.

FREE 5-Day Email Course: The Swift Concurrency Playbook
A FREE 5-day email course revealing the 5 biggest mistakes iOS developers make with with async/await that lead to App Store rejections And migration projects taking months instead of days (even if you've been writing Swift for years)
Location Simulation using GPS Exchange
The provided list of familiar places is a great start, but it doesn’t come with the flexibility of simulating routes. A common way to solve this problem is by using so-called GPX files. GPX stands for GPS Exchange Format, an XML Schema designed as a standard GPS data format for software applications like Xcode.
Tools like gpxgenerator.com allow you to select individual waypoints and export them as a GPX file. You can load this file into Xcode using the “Add GPS Exchange to Project…” option.
While GPX files work great, you might find it annoying to collect those waypoints manually. Therefore, I developed a solution that allows you to simply specify a start and destination location.
Simulating freeway drive and walking routes
Each of Xcode’s provided simulation options requires you to manually configure one of the provided locations or select a GPX file whenever you want to simulate the location. While it works, it doesn’t allow you to stay in your flow.
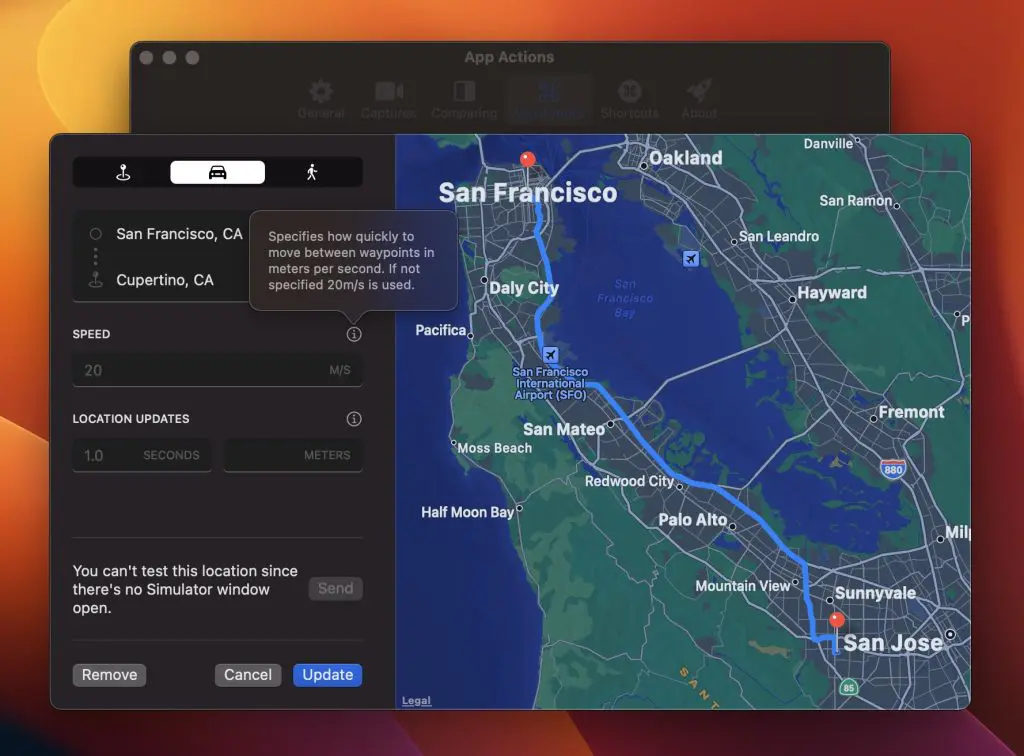
Using RocketSim, you can configure quick actions for any location, freeway drive, or walking route:
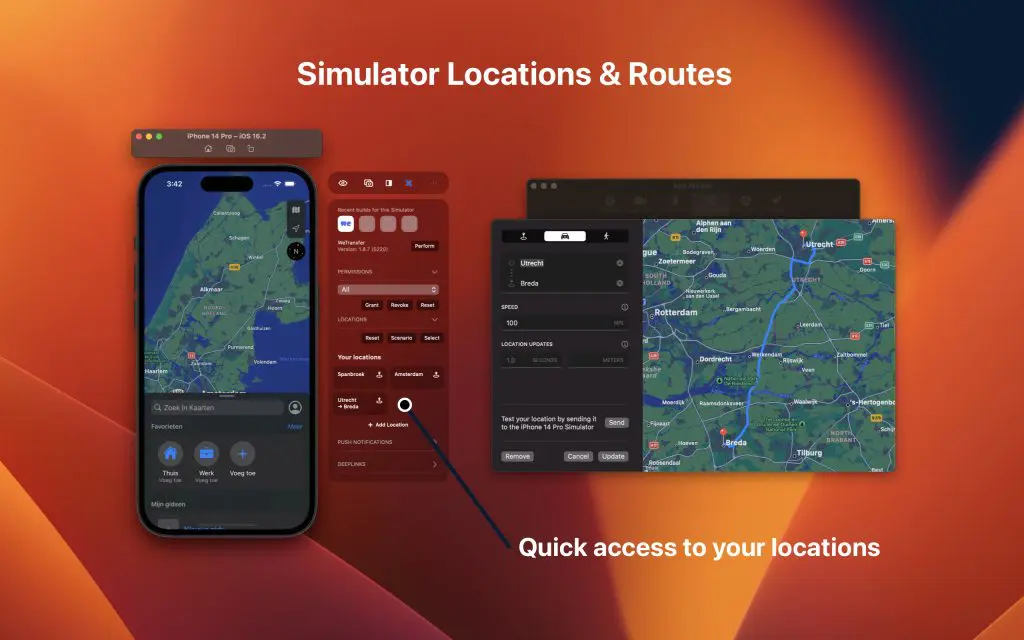
RocketSim calculates individual waypoints and uses MapKit underneath to ensure locations match the official Apple Maps output. Both freeway drive and walking routes can be used with any given start and end location. The autocompletion makes it effortless to find the location you need:
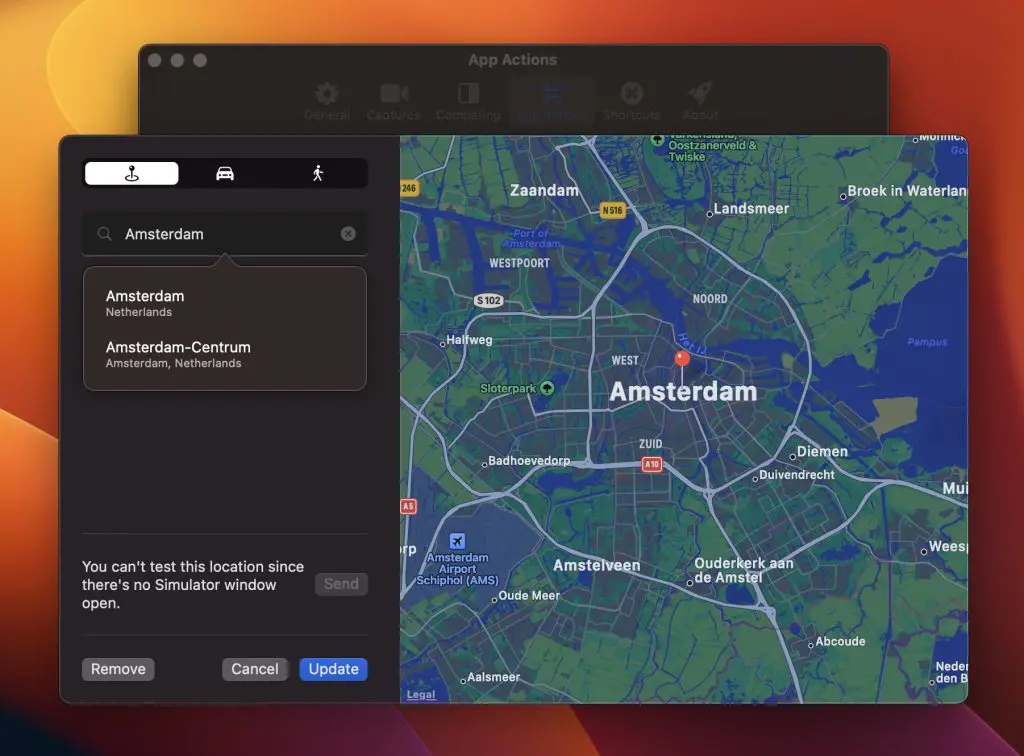
You can test individual custom locations apart from routes and test the configuration before saving if you have a Simulator open. In the above example, testing is disabled due to not having any Simulator windows open.
Simulating routes with different speeds and intervals
A route simulation has configuration options for speed, distance, and seconds. The latter two define how often a location update is pushed, while the speed determines how fast the ‘car is driving.’
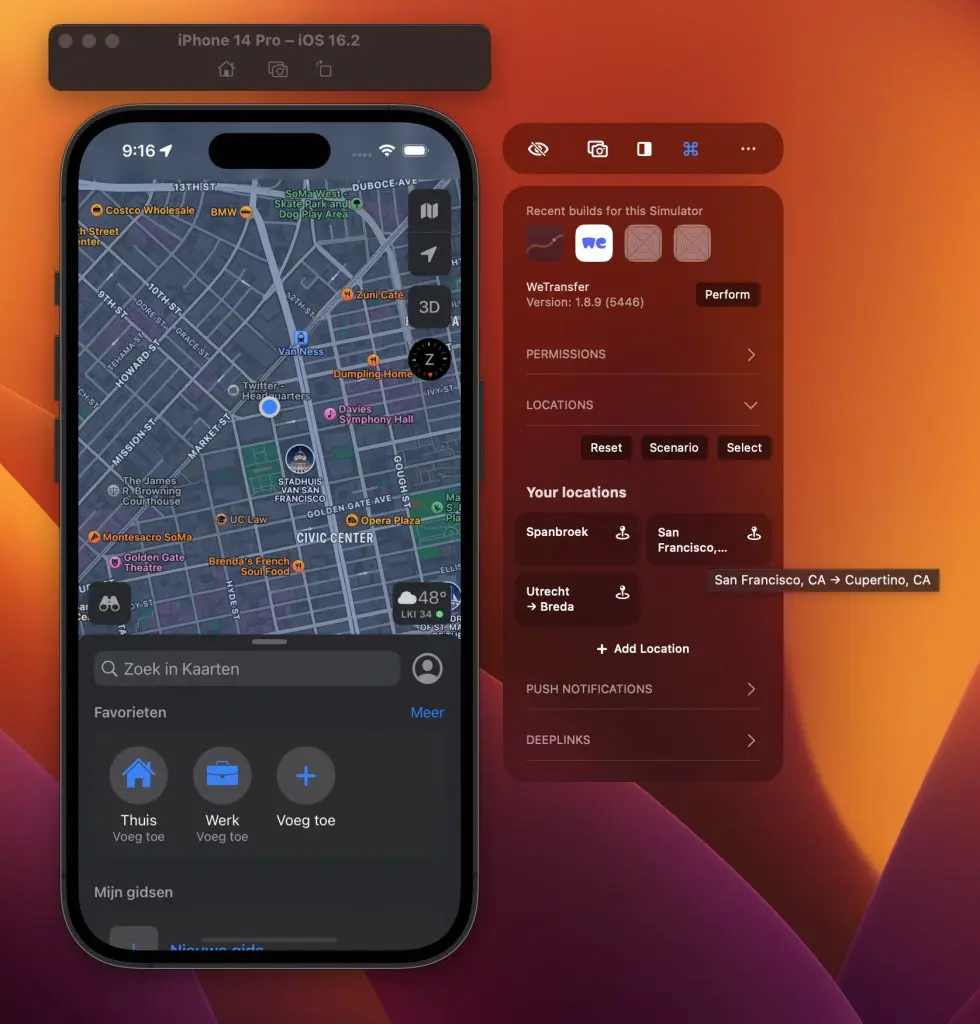
Switching locations quickly
The great thing of using locations in RocketSim is the fact that you can access them directly from the side panel:
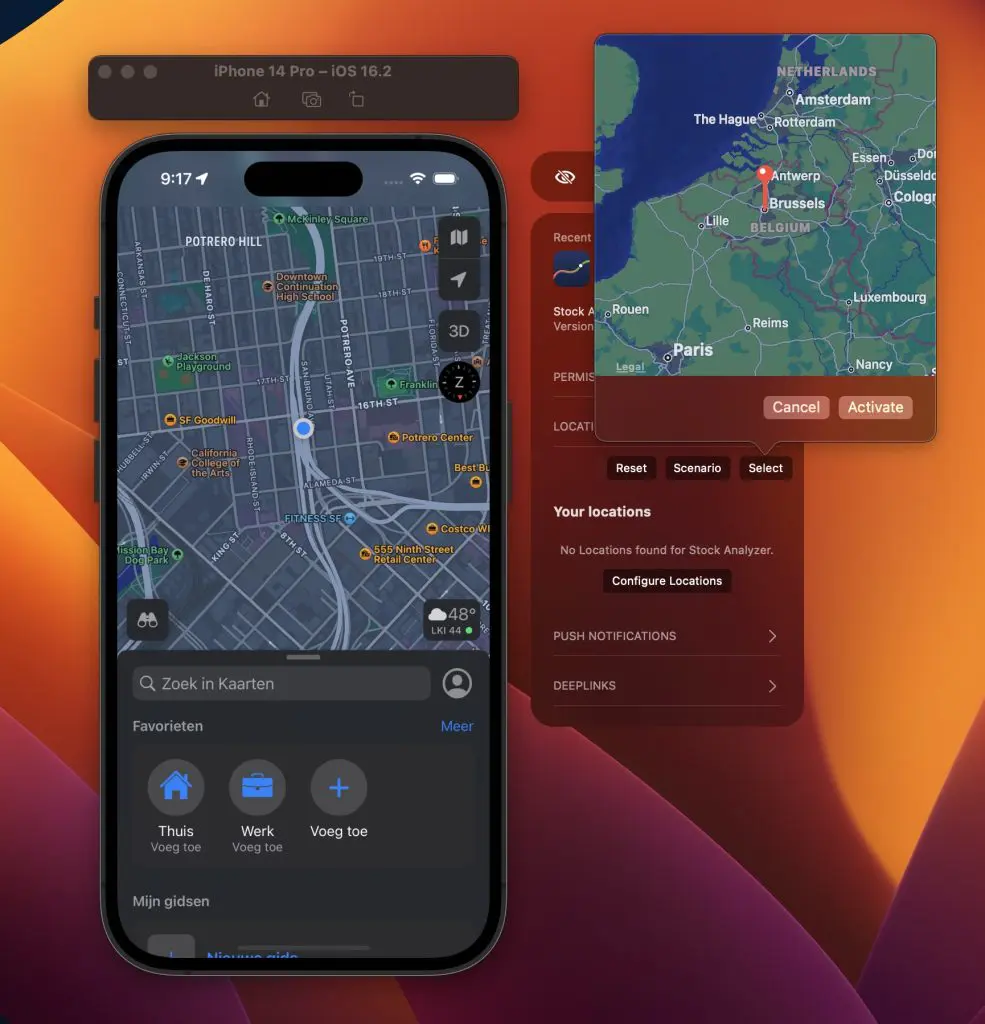
If you don’t have any locations configured yet, you can pick any location using the Select button:
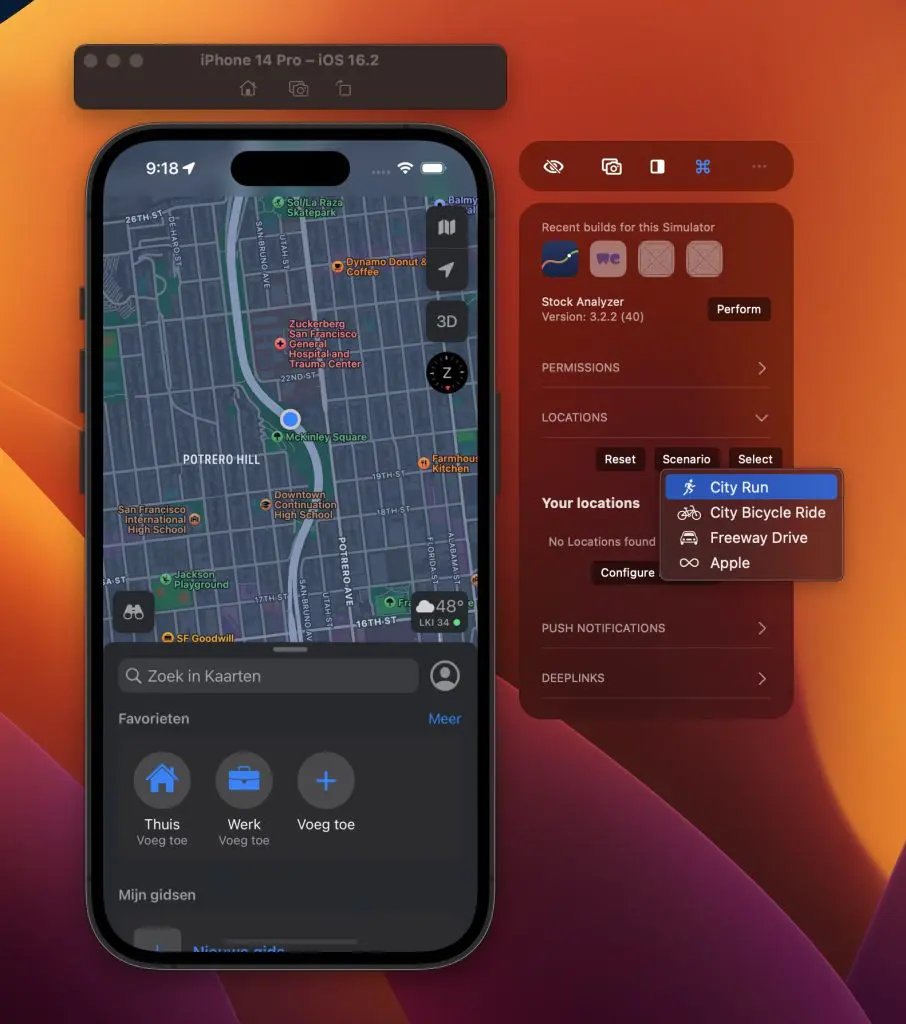
Or pick any of the location scenarios for quick access to typical location simulations:
Conclusion
Location Simulation is essential when working on an app with location access. Whether jumping from one place to another or simulating routes, being able to test these quickly drastically speeds up your workflow. Xcode provides a few basic simulation options, but RocketSim allows you to save common scenarios and activate simulation quickly.
If you like to improve your workflow, even more, check out the workflow category page. Feel free to contact me or tweet to me on Twitter if you have any additional tips or feedback.
Thanks!